
I haven't made my Christmas cards in years. A good 5 years ago I worked with my friend in Indiana and we made a few prototypes of some Christmas cards and I decided to make them my cards this year.
I have a embossing machine that I bought from Stampin up many years ago and I used it to emboss snowflakes onto the background and the punched out ornament for the front of the card. I had some sage card stock that I used and I also had some gold paper that was already embossed with poka-dots and I embossed the snowflakes onto that paper for the background, but left the gold ornament just the dots.
The items needed for this project were:
Plain cards and envelopes
Card stock in Sage, gold, cream or white, and red.
An ornament paper punch
A paper cutter
Gold cord
Thin red ribbon
Sticky dots
Double sided tape or glue
Greeting rubber stamp
Red ink pad

First I stamped the greeting onto the inside of the cards and let them dry while I cut out the card pieces.

I used 5 by 6 1/2 cards, so the large piece for the background of the card (sage and gold) are cut into 5 by 3 3/4 rectangles. I then ran the cut sage and gold pieces through the embosser.
I cut the sage paper into strips that were wide enough for the ornament punch and ran them through the embosser before I punched them.


I cut the red paper into 3 by 2 1/2 rectangles and the cream into 2 1/8 by 2 1/2 rectangles.

For the red ribbon I tied the ribbon into a bow the right size for the ornament and then untied the bow and used the cut piece to measure the ribbon for the rest of the bows. You can cut your cord and ribbon ahead of time, or cut them one at a time while you are putting your card together.
I assembled the card with the doubles sided tape. You put the embossed sage or gold onto the middle of the card. Next, tape the cream piece onto the red piece. Then the red/cream piece onto the sage or gold embossed piece.
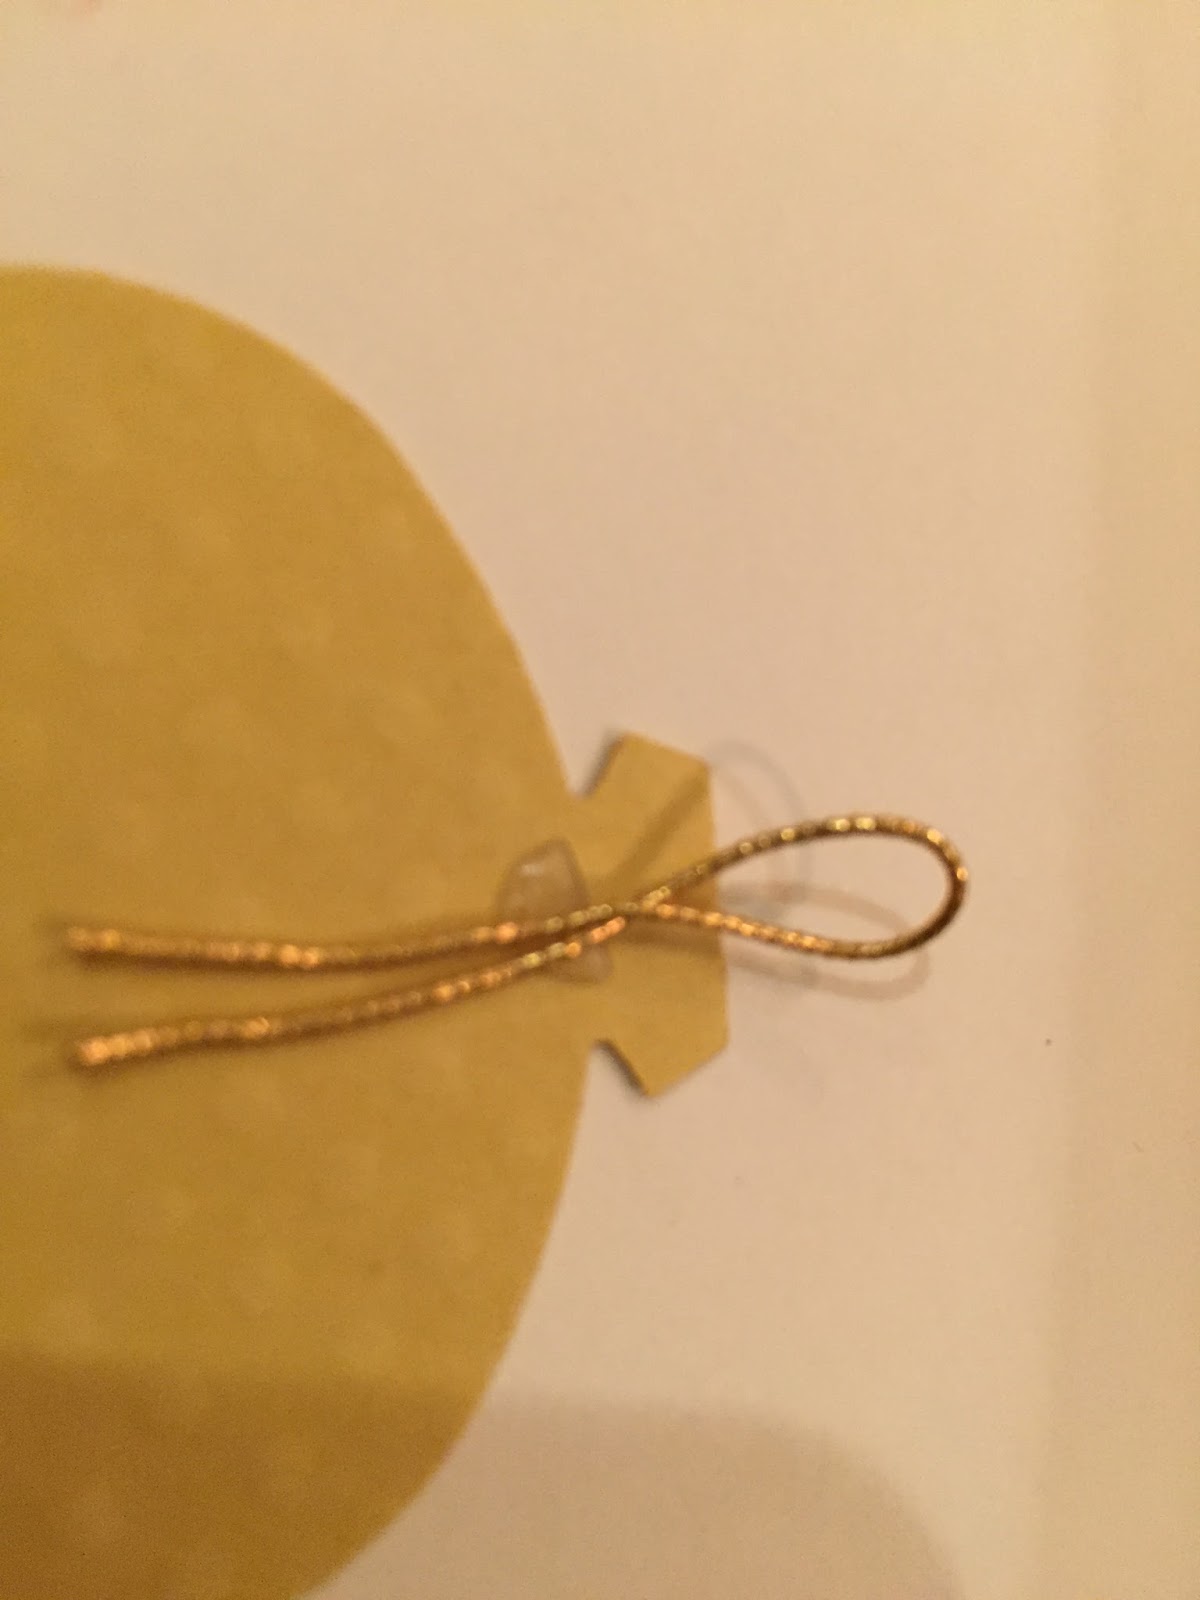
I turned the ornament over to the back and put sticky dot on the upper back of the ornament piece and then folded the cord in half and push them onto the dot on the ornament.
Now tape the ornament onto the middle of the cream top piece.

Take a sticky dot and put it onto the top of the front of the top of the ornament and add the tied ribbon bow to the sticky dot. Finished and ready to spread some Holiday Cheer!


